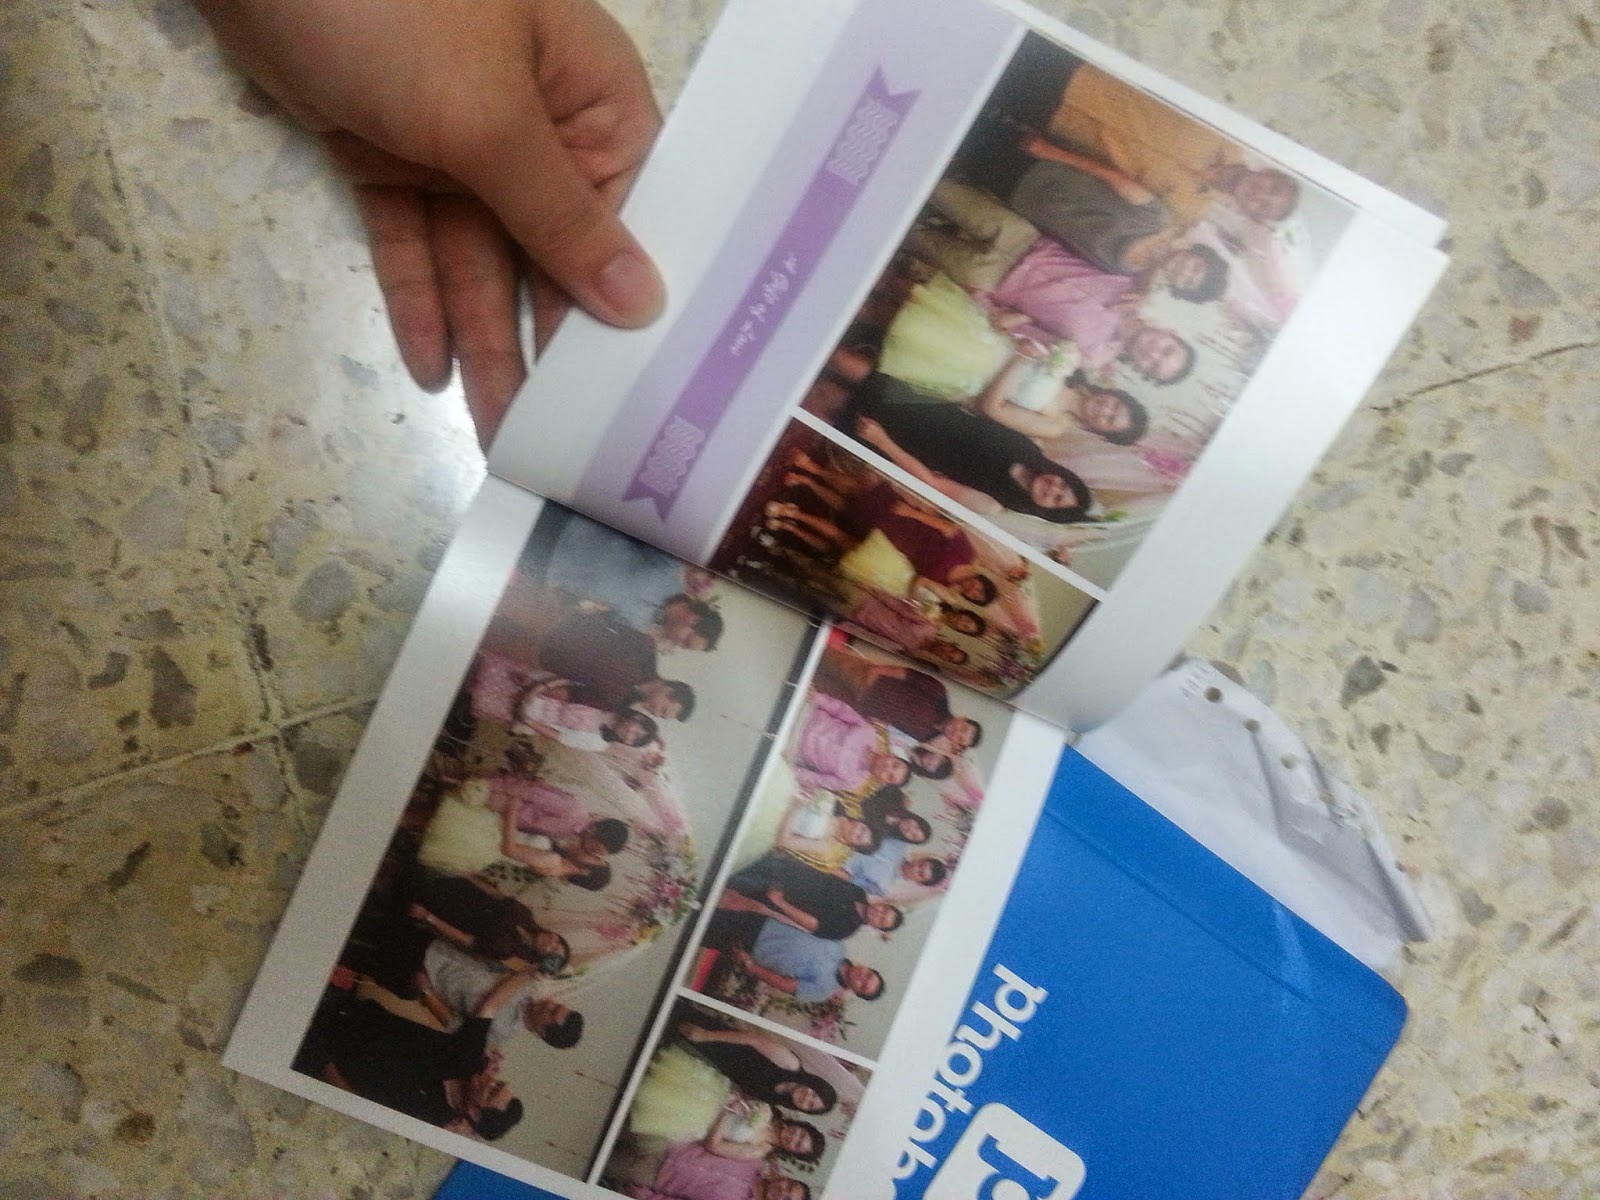
这是我第一次用photobook制作相本,不过之前有用过pixajoy来制作photobook,所以这次相对的有了经验,在photobook网站下载了readybook的版本,再根据自己的需要作修改,把照片放进去,只用了3个小时就完成了~ 超快的!!!
 |
| 制作中。。。 |
Photobook Designer Quick Guide
Before you begin, be sure to download and install the Photobook Designer Software. Refer to the steps below to find out more about the features of the software.

1. Select your book type and size
Select your preferred book size from the drop-down list. Choose from a range of book sizes and styles consisting of hardcovers and softcovers. Check out all available book sizes and styles here. Next, name your new book project and click "Create".

2. Load your pictures
Click on "+" icon to add pictures to your project. Select the pictures you desire to put into your book. Your pictures will then be loaded into the "Pictures" tray, and are now ready to use.
You are able to import pictures from Facebook and Flickr as well.
You are able to import pictures from Facebook and Flickr as well.
Note: Suitable for larges images. Above 5mb and 300 DPI
(Max 8mb and 600 DPI).
(Max 8mb and 600 DPI).

3. Fill in pictures
To insert a photo, drag-and-drop your picture into the page. You can choose to have your picture as a single picture, background picture or spread.
TIP: Avoid placing important objects (eg. faces, text boxes, etc) directly on the center of the spread (along the shaded area). Our books are binded with PUR glue for the most durable binding strength and pictures that spread across the center line may seem curved or certain parts may be hidden from view.

4. Resize, crop & rotate pictures
Resizing - Drag the resize handles at the four corners of the object to resize your picture
Cropping - Drag the side handle inward to crop your picture.
Rotating - Click on the Position button on the photo tools menu on the right of Photobook Designer. Toggle the picture according to your desired angle.
Predefined layouts - Make layouts easier! Select the layout of your choice and simply drag and drop them to shape the entire page with your images.

5. Edit pictures
Give your photos a special touch. For a unique look, consider adding Black & White or Sepia filters. Feel free to explore the image enhancements such as Contrast, Sharpen, Skin Tone, and Noise Reduction to showcase new results from your original images!

6. Change page styles, masks, backgrounds
You may want to start designing each page with "Page Styles". Just drag and drop your preferred layout to the page. You can adjust and modify the page layout according to your preferred picture sizes. These page styles make creating your book easy and fun!
You can add a mask to a picture box or shape simply by dragging it from the library onto the picture. A mask will always scale to fit the box exactly.
You can also use either your pictures as backgrounds, or the various pre-loaded background designs from the "Backgrounds" tray in the library.

7. Insert text/captions
Adding text or captions to your book adds a special detail to your story. Photobook Designer automatically loads all font types available in your hard disk. You can choose the desired font sizes and colours.
Note: Before the next step, ensure that all empty pages are filled or deleted. Remember, no changes can be made once your book has been uploaded.

8. Change Book Size
If you happen to change your mind on the product size, or had made a mistake selecting the wrong size, simply change it using the "Change Product" icon. Select the respective book type, click "Change".
Note: Only applicable for certain book types/sizes.

9. Order
Once you have finished designing your book, click on the green "Shopping Cart" icon to submit your photo book. Tick the disclaimer check box and click the 'Start' button. A new browser window will launch and you will be directed to Photobook Worldwide's online order page. Sign in or create a new account.

10. Make payment
Step 1
• Fill in the required quantity.
• Select cover material (for Debossed or Pro Series books). View all colors.
• Select slipcase, paper upgrades or presentation box (if required).
• Select cover material (for Debossed or Pro Series books). View all colors.
• Select slipcase, paper upgrades or presentation box (if required).
Step 2
• Confirm shipping and billing details.
• Select shipping method.
• Select shipping method.
Step 3
• Confirm order is correct.
• Fill in Order Notes (for slipcase or presentation box if applicable - Step 1).
• Select preferred payment option.
• Fill in voucher or discount code and click 'REDEEM'.
• Click 'Confirm Order' and complete payment process.
• You will receive an email confirmation containing your order number (Example: PBO0138371) together with your order details.
Note: Please keep the confirmation e-mail for future reference.
*Standard shipping (without tracking) may take up to 24 business days depending on location.
*Standard shipping (without tracking) may take up to 24 business days depending on location.

11. Upload order
The order is not complete until your book has been uploaded. Once you have completed the online order form, upload your book by choosing "UPLOAD ORDER".
You may choose to upload files online (approximately 30-45 mins depending on internet stability and file size), or save into a portable storage media (CD or thumb drive) and come to the Photobook office to submit it. Click 'Continue'. Your order is complete once your file has been uploaded successfully.
IMPORTANT: We do NOT accept any amendments or changes to be made to the file ONCE the file (book) is uploaded. Therefore, it is the customer's responsibility to check the proofs thoroughly before uploading their books for processing.
1
SELECT YOUR
BOOK TYPE AND SIZES
Select your book type and size. Choose from a selection
of Debossed, Imagewrap or Softcover. Click “Start Book”
to begin personalizing your project. Sign in or register an
account to save your project.
of Debossed, Imagewrap or Softcover. Click “Start Book”
to begin personalizing your project. Sign in or register an
account to save your project.
Note: You may select “Continue As Guest” to try out the
program. You will need to login in order to save the project.
program. You will need to login in order to save the project.


2
LOAD YOUR PICTURES
Click on "+" icon to add pictures to your project. Select
Upload and select the images that you would like to use.
Your pictures will then be loaded into the "Pictures" tray on
the left and you can start using them in your project.
Upload and select the images that you would like to use.
Your pictures will then be loaded into the "Pictures" tray on
the left and you can start using them in your project.
Note: Ensure that the green progress bar below your images
are completely gone before you save your project (this means that
your image has been successfully uploaded to our servers).
Platform is only suitable for images below 5mb and 300 DPI.
are completely gone before you save your project (this means that
your image has been successfully uploaded to our servers).
Platform is only suitable for images below 5mb and 300 DPI.
3
FILL IN PICTURES
To insert a photo, drag-and-drop your picture into the picture
box. You can choose to have your picture as a single
picture, background picture or spread by using the “Fit”
option on the Menu Bar.
box. You can choose to have your picture as a single
picture, background picture or spread by using the “Fit”
option on the Menu Bar.
TIPS: Avoid placing important objects (eg. faces, text boxes, etc)
directly on the center of the spread (along the shaded area).
directly on the center of the spread (along the shaded area).


4
RESIZE, CROP &
ROTATE PICTURES
Resizing - Drag the resize handles around the picture
box to resize your picture
Cropping - Crop picture by dragging the image within the
image box pop up.
Rotating - Select the image, use the “Orientation” function
located on the Menu Bar.
Predefined layouts - Choose from a range of over 200
different layouts. Select the “Layout” function on the Menu
Bar and desired layout to your page.
5
EDIT PICTURES
Make your images more vibrant and brighter by clicking on any
picture box and select “Enhance”. Give your images additional
effects. Choose from Black & White or Sepia mode. Image
enhancement features such as Border, Shadow, Opacity bring
new results from your original images!
picture box and select “Enhance”. Give your images additional
effects. Choose from Black & White or Sepia mode. Image
enhancement features such as Border, Shadow, Opacity bring
new results from your original images!
Note: Your image has to be fully uploaded before the
“Enhance” feature becomes available.
“Enhance” feature becomes available.


6
DELETE PICTURES
Click on the button to open the picture tray. Select the image
and click on the icon to delete the images. To select multiple
images, hold Ctrl/Cmd and select the images.
and click on the icon to delete the images. To select multiple
images, hold Ctrl/Cmd and select the images.
7
CHANGE PAGE STYLES,
MASKS, BACKGROUNDS
Drag and drop your preferred layout to the page. Adjust
and modify accordingly.
and modify accordingly.
Add a mask by dragging it onto the picture.
Find various predefined backgrounds under “Background”
on the Menu Bar or use your own images as backgrounds.
on the Menu Bar or use your own images as backgrounds.
TIPS: Ensure that an image is inserted into the picture box.
Otherwise the picture box would turn out empty.
Otherwise the picture box would turn out empty.


8
INSERT TEXT/PICTURES BOX
Insert text and picture boxes by clicking on any blank
surface in your project page, select “Add Text Box” and
“Add Picture Box” respectively on the Menu Bar.
surface in your project page, select “Add Text Box” and
“Add Picture Box” respectively on the Menu Bar.
TIPS: Ensure that all empty picture boxes and text boxes are
filled or deleted to prevent error messages during check out.
filled or deleted to prevent error messages during check out.
9
ORDER
Once you have finished designing your book, click on the
green "Order" icon to submit your photo book.
green "Order" icon to submit your photo book.
A new browser window will launch and you will be
directed to Photobook Worldwide's online order page.
directed to Photobook Worldwide's online order page.
Sign in or create a new account.
TIPS: Avoid placing important objects (eg. faces, text boxes, etc)
directly on the center of the spread (along the shaded area).
directly on the center of the spread (along the shaded area).


牢骚:这是我在gst实行后第一次网购,运输费是8块,我以为include gst了,怎知还钱时~ RM8.48!!!!! 还真的给得很不甘心,可是。。又不能不给。。。

悲哀!

3号中午就还了shipping 钱,把弄好的成品sent过去了。。。
5号早上我就收到成品已经好了,也ship出去了。。。(心想:怎么那么快啊?)
现在就在等着制品送过来~ 期待哦。。。
7.5.2013
好快哦,今早就收到了!!兴奋+期待 (虽然是免费的,可是。。。还是会期待的啊)
 |
| 就只是用这小小的信封装着 |
 |
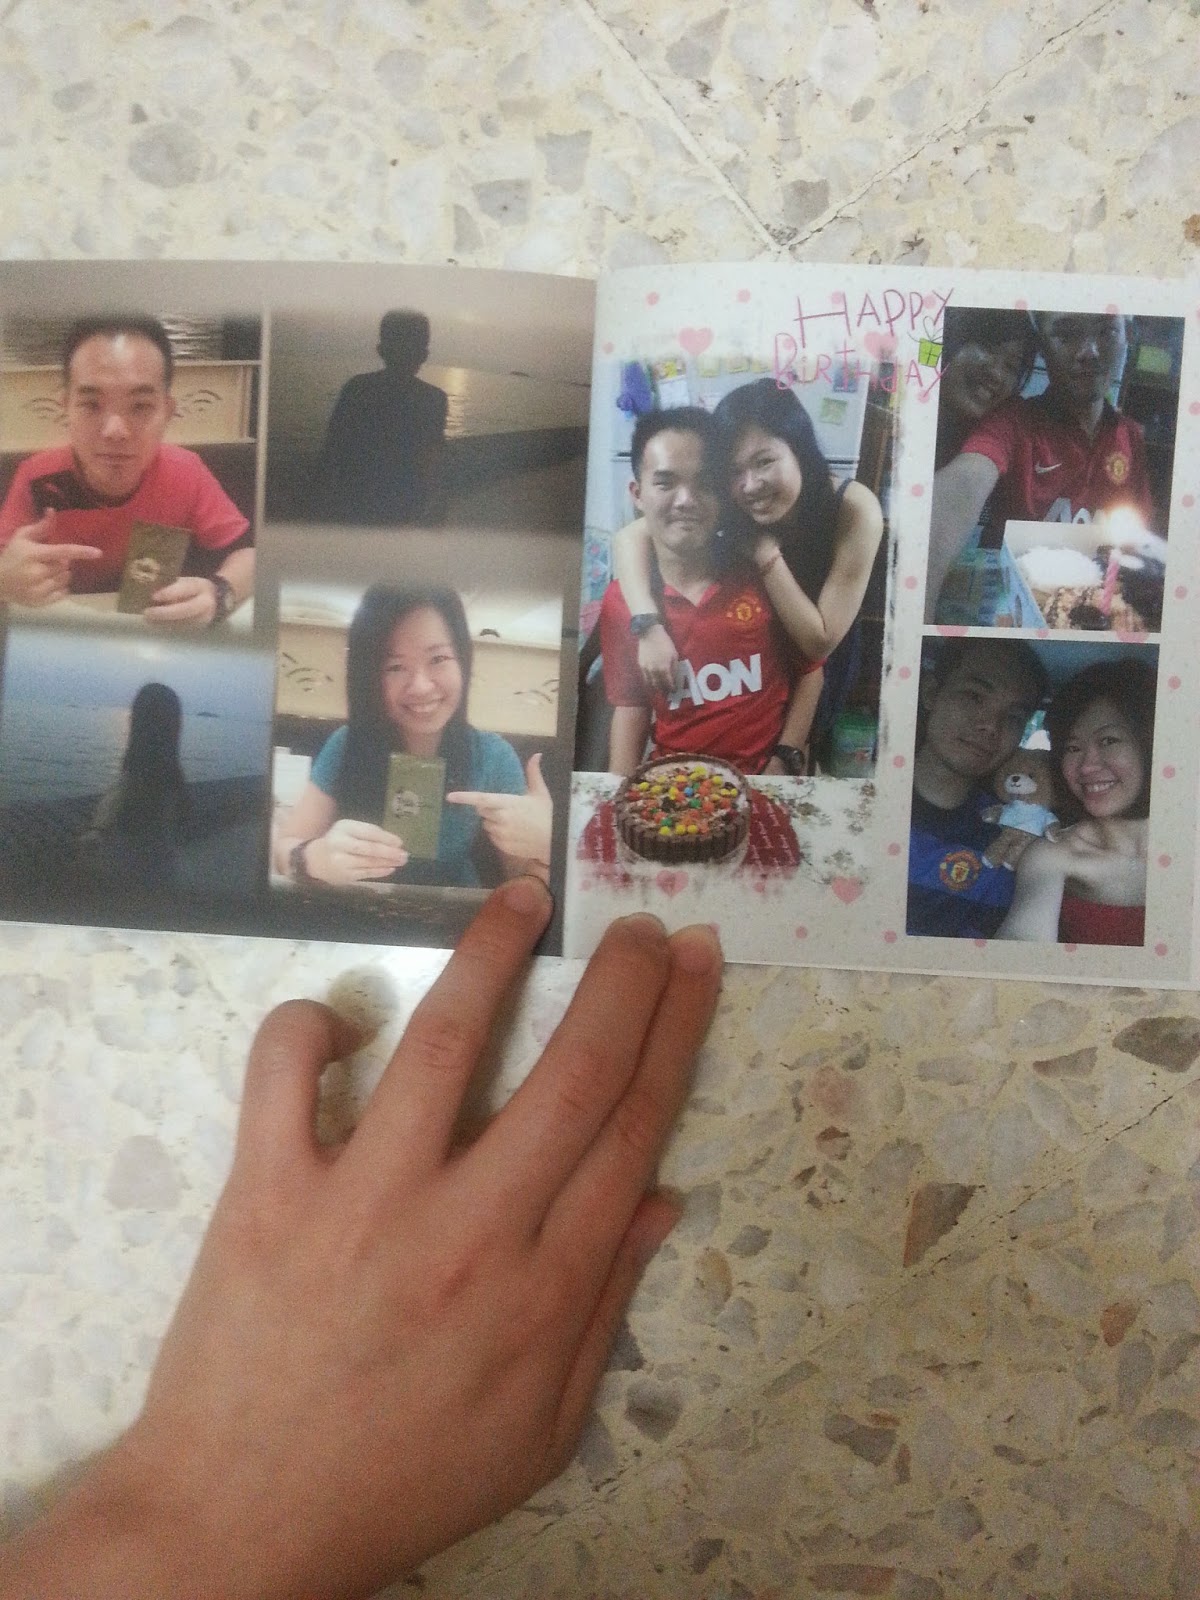
| cover |


品质的话呢,个人认为photobook的会比较好点(2家的都是6'x6' softcover)。
整体来说,我还是满意~
以下是上次在pixajoy做的photobook:


No comments:
Post a Comment